I cannot express how confused we got before flying out to Japan, the whole process was beyond puzzling, but once you get your head around it all, public transport in Japan is actually very easy.
Where Are You Going?
This is first what you need to work out. Are you staying in Tokyo or are you heading further afield, such as to Kyoto or Osaka?
If you’re staying in Tokyo then you can get away with just the Suica card, albeit both forms of transport are very useful in Tokyo. However, if you’re looking to get on the bullet train (a must when you visit, especially as I personally think Osaka and Kyoto are better than Tokyo) then you will need a JR Rail Pass.
If you’re a Londoner, then the best way you could think about it is that the JR pass is for the Overground, while Suica Card is like an Oyster card for the Underground. It’s not exactly like this, but it is the easiest way to mirror with what we have. Having said that, both the Suica and JR rail pass will work in cities across the country.
JR Pass
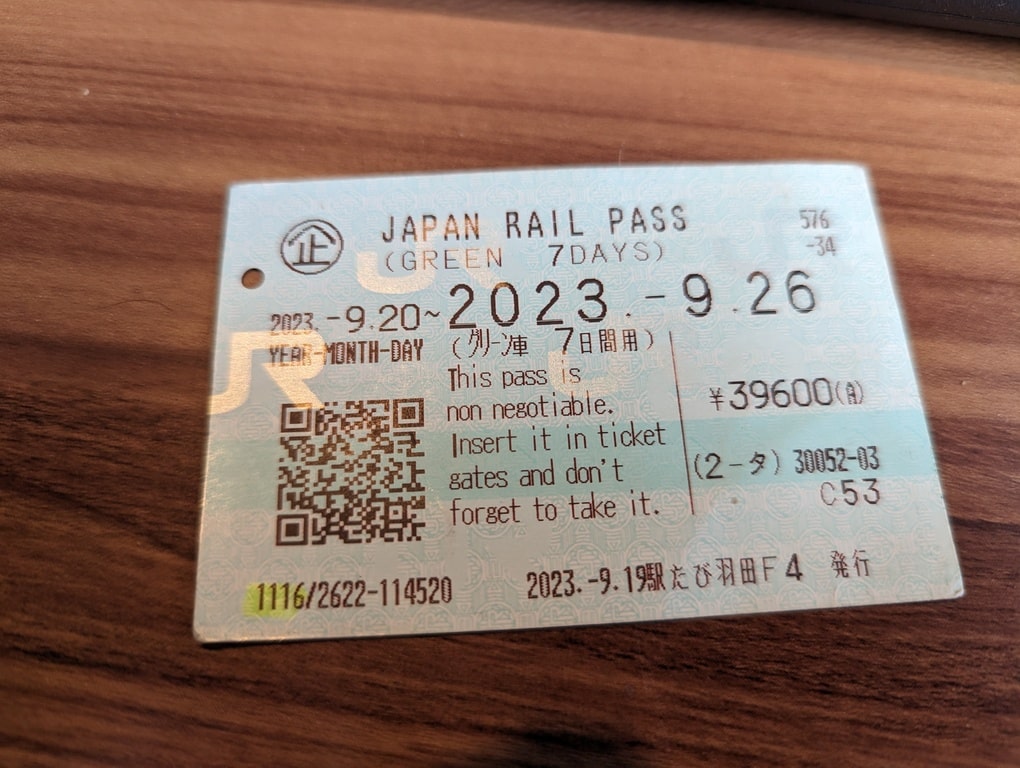
We booked the ticket in advance, something that you’re strongly recommended to do. They will send you a paper ticket, which you bring with you and present at the JR Travel Service Centre at the airport.
We reserved our Japan Rail Pass with japanrailpass-reservation.net (not affiliated, not advertising them, but we used them and it worked perfectly). The tickets arrived a few weeks before we flew out.
I’ll be honest, there seemed to be about 20 different websites that sold the JR pass, while all were very poorly constructed with out of date information, with some not offering delivery to the UK, so the whole process was a bit of a headache until we found one we truly trusted.
You don’t need to book all your trains in advance, but I would work out where you are going and on what days and generally around what time you would like to go. This will make it a lot easier when queuing to book the train seats.
Where Do You Pick Up The JR Pass From?
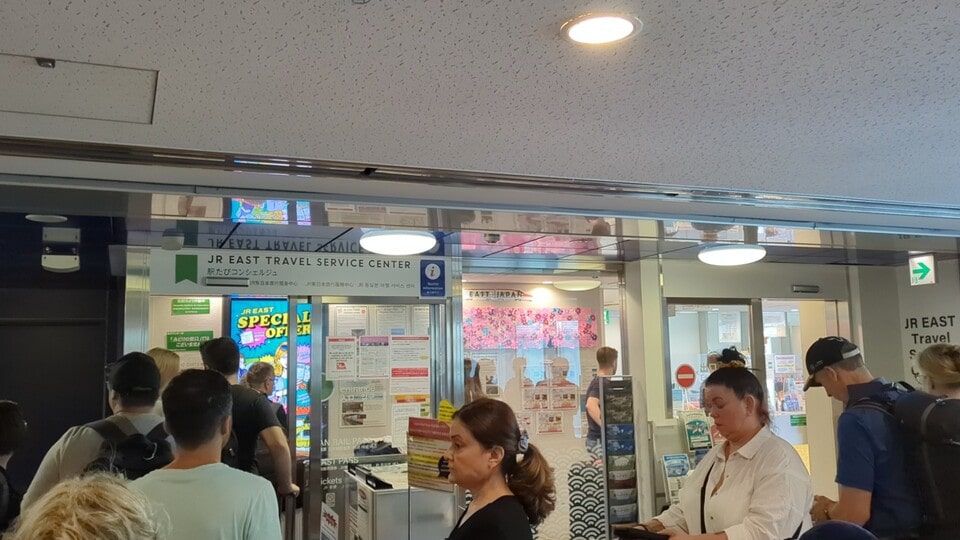
Once you have landed in Haneda airport, you need to get to terminal 2 (we landed in that terminal). You then need to walk over to the JR Ticketing Office. If you can’t initially find it, ask someone who works there, who will be happy to direct you.
Can You Book All Your Trains In The Airport?
No, when you arrive at the airport and collect your JR Rail Pass, you can book a single journey, but many people arrive wanting to book their entire itinerary of trains (like us) which they don’t allow.
Instead, you have to find a local JR Travel Service Centre, such as in Shinjuku or Shibuya, which you might want to do once you have dropped your bags off at the hotel.
We then booked all of our trains for the entire 11 day trip, while they will be able to help guide you on timings and ensure you get around with plenty of time.
How Long Is The Queue In The Airport?
There was a sign warning that 1 hour queues are regular. We also watched YouTube videos of others collecting their tickets in the airport and they said they waited an hour.
We must have got lucky as it only took 20 minutes for us, but I would expect it to be longer and then you won’t be frustrated on the day.
Green Car Or Ordinary Car
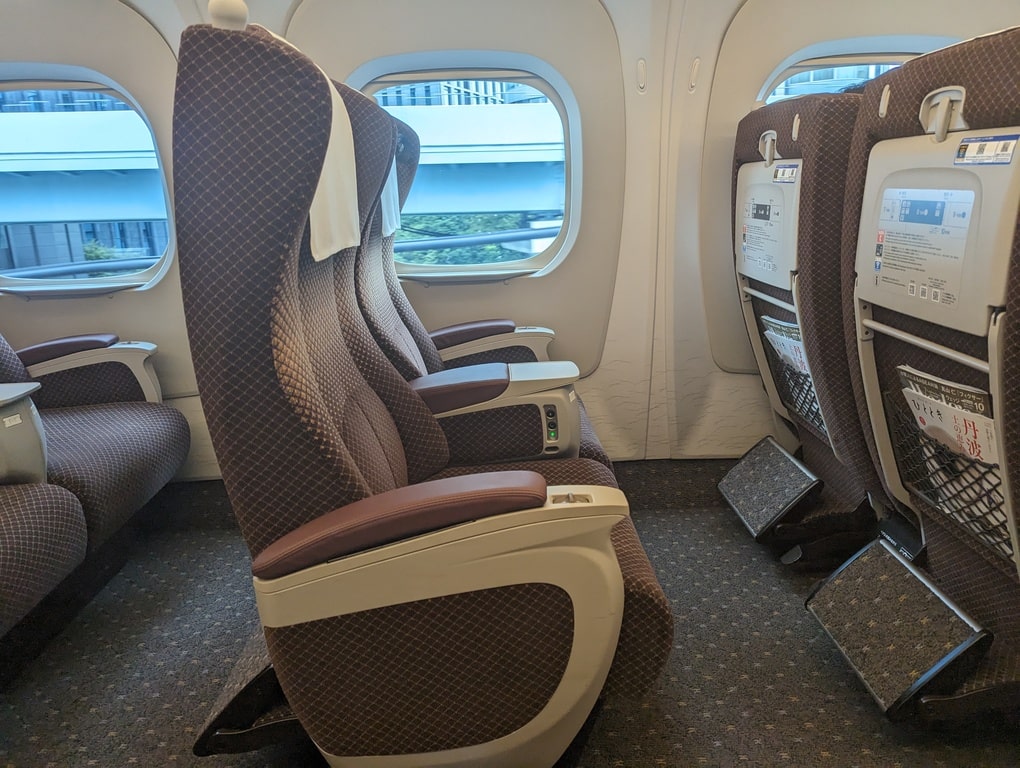
When you book your JR Pass, you can either book the Green Car or the Orginary Car. Basically, think of the Green Car as the first class section.
The price was quite a bit more, maybe £100 I think from memory (the prices have gone up since), but I felt it was totally worth it as we had a lot of trains and it was great to travel in comfort.
The chair leg room was massive. The chairs also reclined the whole way back. When you’re on a plane, you always feel guilty reclining the chairs as someone will be squashed behind you, but most of the trains we caught the carriage was about 90% empty with no-one behind us, so it was nice to push it back for a while.
Also, in the ordinary cars, there are three seat areas, whereas the green car is only two seats, so if you’re going as a couple or two mates then you can be ensured nobody is alongside you.
Remember The Bento Boxes
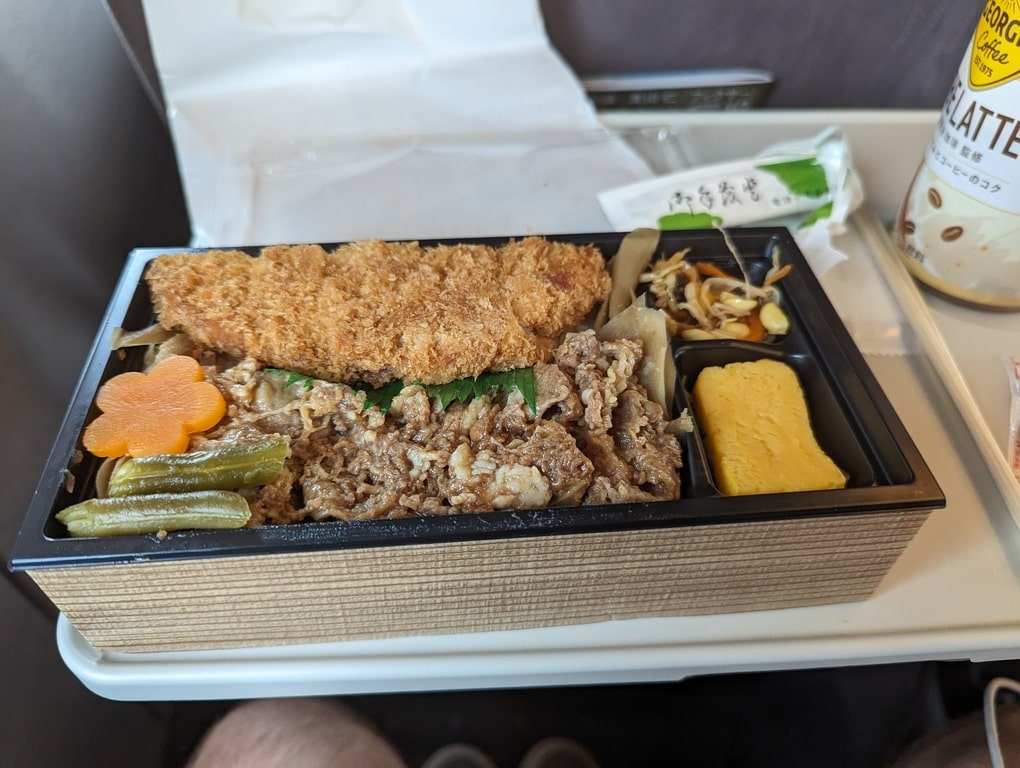
You can find Ekiben, also known as bento boxes, which you can eat on the train and they taste incredible! There are plenty of options to choose from in the stations, but make sure to arrive with enough time as it can be hard to find where they’re sold in some stations.
You should Google where to find the bento boxes in the station before arriving so you don’t get lost looking for them.
Altogether we must have eaten about 10 bento boxes and we didn’t have one bad one! They’re so much more special than the basic sandwiches we have in stations in the UK. I can only hope one day they start offering them here.
Of course, a trip to 7/11 is essential to pick up some tasty drinks and snacks as well, as I didn’t really see any snacks or drinks available on the trains we took (except one).
How Do You Use The JR Rail Pass?
Being a paper ticket, you put it into the machine at the barriers and it pops out further along (about half a metre in front of you) where you take it out and the barrier opens. This is much like most ticketing systems you will find in stations across the world.
You do however have to look for the JR Pass sign, we accidentally put it into the wrong barriers at time, but you will pick this up quickly.
Suica Card
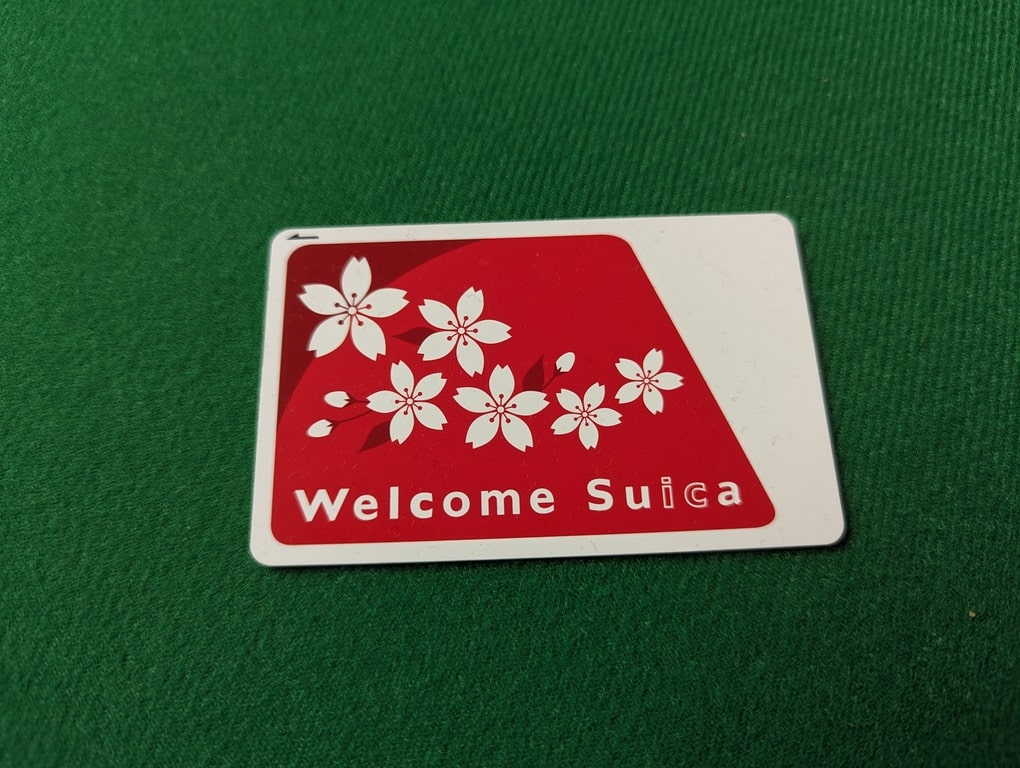
We were initially worried, as we had heard there was a shortage on Suica cards and that it would be hard to get one when we arrived. Well that all seemed to be rubbish. Sure, they couldn’t provide the long-term one, but you could get a Welcome Suica Card, which lasts for 28 days, plenty of time for our 11 day trip.
These can be bought at the airport or at a station. We bought ours at the JR Ticketing Office in the airport in Terminal 2.
How Do You Top Them Up?
The Suica Card can easily be topped up at the machines, found in each station. The machines have a button so you can choose the language, meaning you don’t have to worry about seeking someone who works there, it’s very easy to pick-up and work out.
How Do You Use The Card?
Unlike the JR pass, which you put into the machine, with the Suica card you just place it over the scanner and the barrier opens up for you to go through, providing you have enough funds on the card.
The barrier will also flash how much you have left and the cost, so it’s worth having a peek if you remember, but I always feel too stressed when going through, trying to ensure I’m getting to the right platform.
How Much Do You Top It Up?
Ok, so the issue with the Welcome Suica Card is you cannot get your money back. Anything left on the card stays on there and expires after the 28 days, so they pocket your leftovers.
When you first get the card, they said you had to either top it up 1,000 yen or 2,000 yen, but after that point you could go to the machine and top it up any amount you want.
We initially put on 2,000 Yen, which is just over £10; however that didn’t last us long with all the trains we were taking, so we added on a further 5,000 yen for each of our cards.
What Route Did You Take?
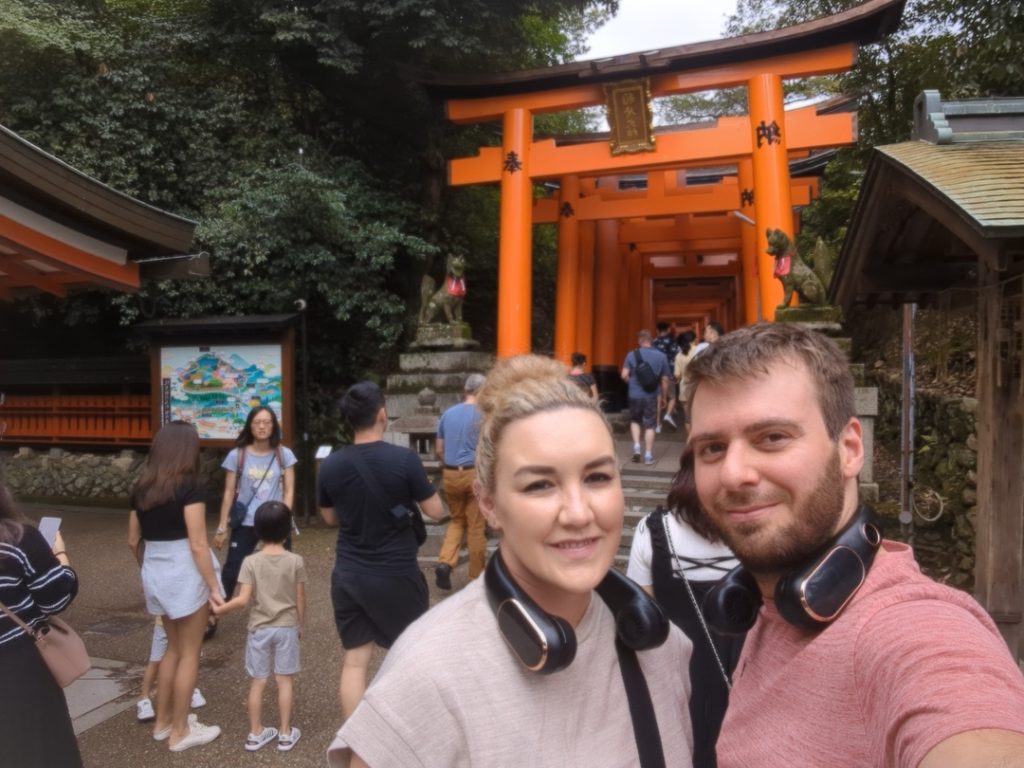
We stayed in Tokyo for the first night, before using the JR Rail Pass the next day to do a day trip to Mount Fuji, which took about 2 hours (again, rough memory).
The day after that, we headed off to Kyoto, taking around 2 hours, where we stayed for a couple of days, before heading on to Osaka.
The journey from Kyoto to Osaka only took around 15 minutes. After a few days in Osaka, we then headed back to Tokyo, where we spent the rest of the trip.
I do like Tokyo, but it certainly didn’t match up to the other cities. It’s much like other capitals, they’re very big and take ages to travel around, while I tend to prefer smaller towns where you can navigate your way around and see loads of sights very quickly.